1.1 What Is a Laser Home Security System?
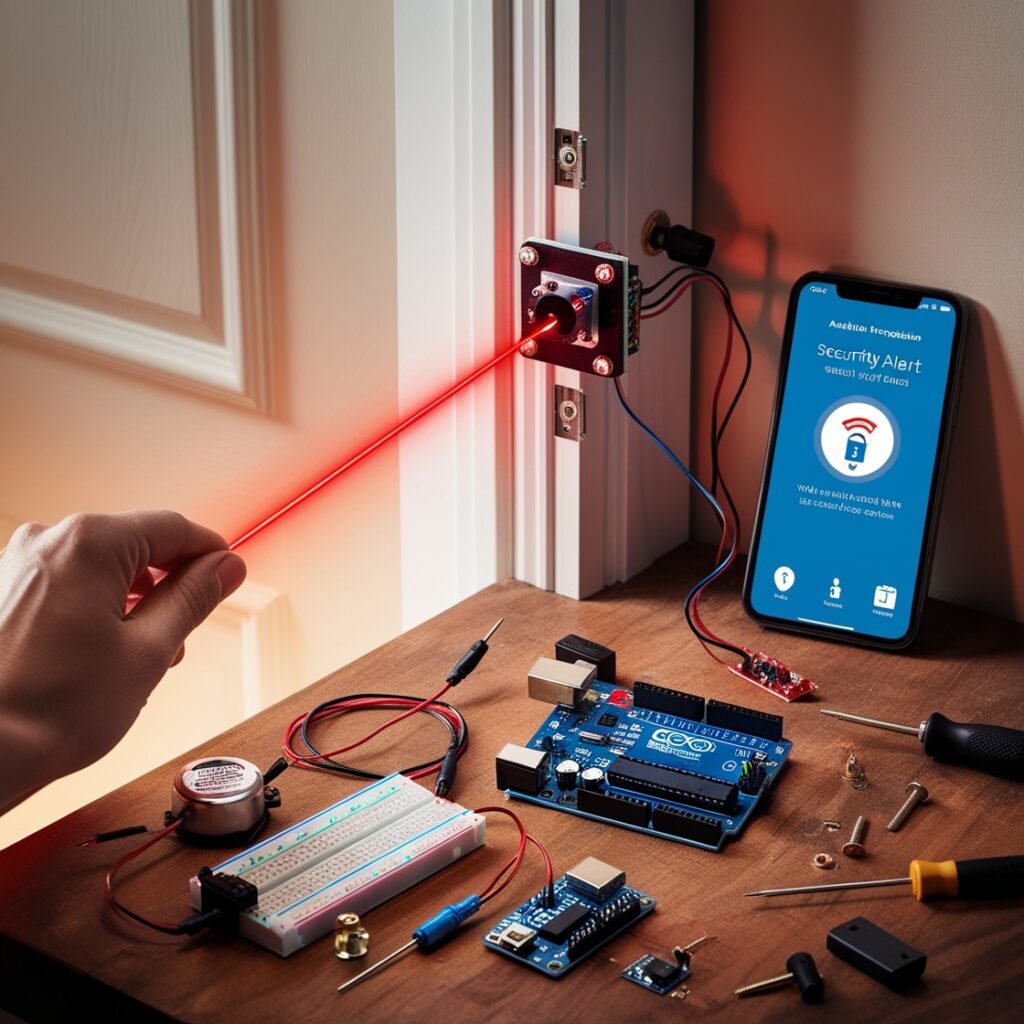
A laser home security system is an intrusion detection mechanism that uses laser beams to monitor entry doors or paths. When an object or a person interrupts the beam, the system triggers an alarm to alert. This system is commonly used in high-security facilities like banks and museums, this technology is also an excellent DIY option for home owners looking for a reasonable and effective security solution to their homes.
Bonus Insight: Some advanced systems use infrared lasers, which are invisible to the naked human eye, making them harder for intruders to detect and overcome.
1.2 Why Choose a Laser Security System Over Traditional Alarms?
Traditional alarms rely on motion sensors, door contacts, or
cameras, but laser security offers unique advantages:
- High Precision—Only triggers when the beam is interrupted, reducing
false alarms from pets or wind. - Affordability—Costs significantly less than professional-grade
security systems. - DIY-Friendly – Can be built with basic electronics components.
- Customizable — Can be expanded with smart home integrations (e.g., SMS alerts, camera triggers).
New Comparison:
|
Feature |
Laser Security |
Motion Sensors |
Door Sensors |
|
False Alarms |
Low |
Medium |
High |
|
Cost |
$ |
$$ |
$ |
|
DIY Potential |
High |
Medium |
Low |
1.3 Who Should Build This Project?
This project is suitable for:
• Homeowners wanting an extra security layer.
• Tech hobbyists interested in Arduino/Raspberry Pi projects.
• Preppers & Security Enthusiasts who prefer customizable solutions.
Pro Tip: If you’re a beginner, start with a basic laser tripwire before upgrading to advanced multi-beam setups.
2. How a Laser Security System Works – 5 Key Components
2.1 The Basic Principle: Laser Tripwire Mechanism
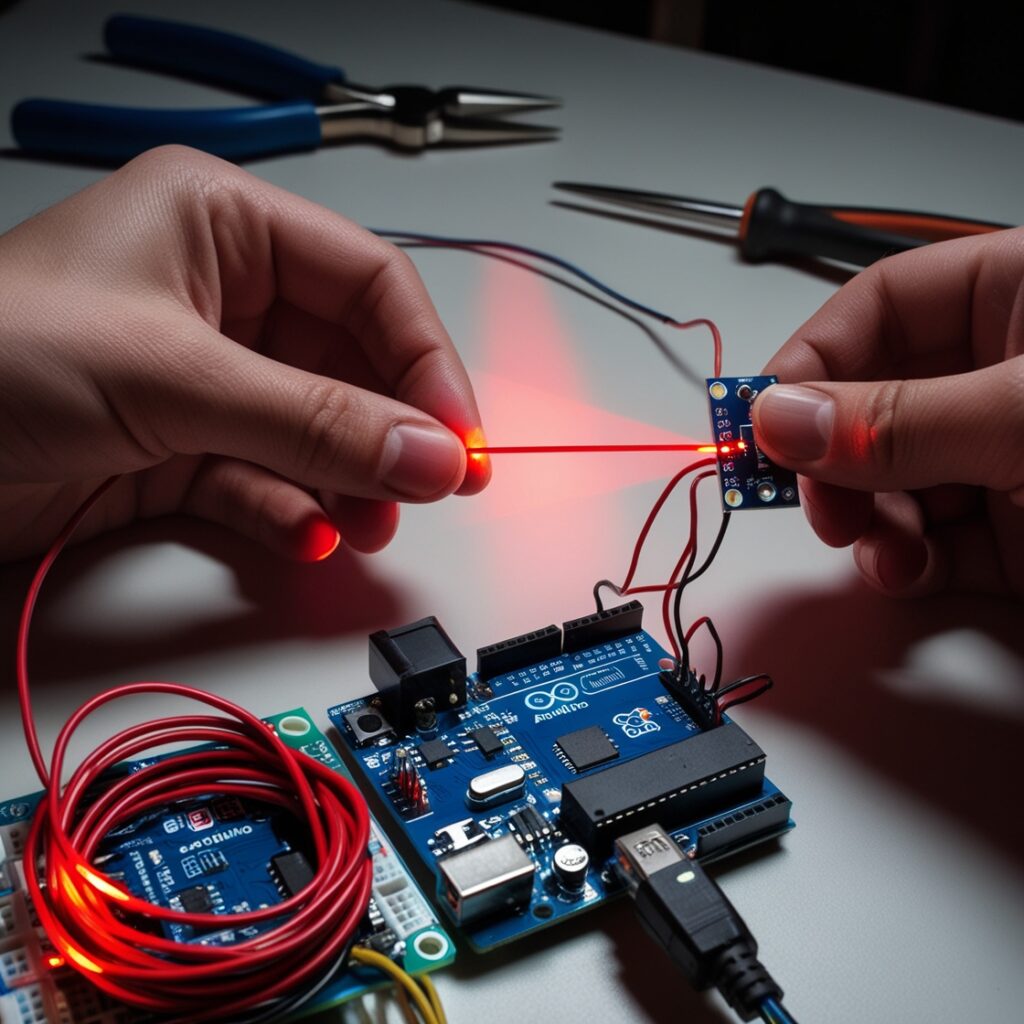
The system emits a laser beam from a laser diode to a light sensor (LDR or photodiode). When the beam is interrupted, the sensor detects the change and triggers an alarm.
Advanced Variation: Some systems use multiple beams in a grid pattern for wider coverage, similar to Hollywood heist movies!

2.25 Essential Components You’ll Need
|
Component |
Purpose |
Budget Option |
Premium Option |
|
Laser Diode |
Emits the laser beam |
$2 Red Laser |
$10 IR Laser |
|
Photoresistor (LDR) |
Detects light changes |
$0.50 LDR |
$5 Photodiode |
|
Buzzer/Alarm |
Sounds alert |
$1 Piezo Buzzer |
$20 Siren |
|
Controller (Arduino) |
Processes signals |
$10 Arduino Nano |
$35 Raspberry Pi |
|
Power Source |
Powers the system |
9V Battery |
5V USB Adapter |
New Recommendation: For better reliability, use a phototransistor instead of an LDR—it responds faster and is less affected by ambient light.
2.3 How the System Triggers an Alarm
The laser continuously shines on the sensor.
When interrupted, the sensor sends a signal to the controller.
The controller activates the alarm (buzzer, LED, or even a text alert via Wi-Fi).
Optional Upgrade: Add a relay module to trigger heavier loads like floodlights or a smart lock.
3. Step-by-Step DIY Laser Security System – 7 Easy Steps
3.1 Step 1: Gather Your Tools & Materials
- Basic: Laser diode, LDR, buzzer, resistors, breadboard.
- Advanced: Arduino, Wi-Fi module (for remote alerts).
- Pro Tip: Use a laser pointer (modified for constant-on mode) for a quick prototype.
3.2 Step 2: Set Up Laser & Sensor Alignment
Place the laser and sensor on opposite sides of a doorway.
Use adjustable mounts for precise alignment.
New Hack: Add a small mirror to redirect the beam around corners.
3.3 Step 3: Connect the Circuit (With Diagram)
Alternative: Use an ESP8266 for Wi-Fi-enabled alerts.
3.4 Step 4: Program the Controller
cpp
Copy
int sensorPin = A0;
int buzzer = 9;
void setup() {
pinMode(buzzer, OUTPUT);
Serial.begin(9600);
}
void loop() {
int sensorValue = analogRead(sensorPin);
if (sensorValue < 500) {
digitalWrite(buzzer, HIGH);
delay(5000); // Alarm stays on for 5 seconds
} else {
digitalWrite(buzzer, LOW);
}
delay(100);
}
Enhanced Code: Add serial monitoring to debug sensitivity issues.
3.5 Step 5: Test the Laser Tripwire
Block the beam—does the alarm trigger?
Adjust the threshold value (500 in the code) for sensitivity.
3.6 Step 6: Install the System in Your Home
Best locations:
- Doorways – Primary entry points.
- Windows – Secondary intrusion spots.
- Hallways – Choke points for movement detection.
3.7 Step 7: Enhance Your System (Optional Upgrades)
- SMS Alerts – Use an SIM800L module for text notifications.
- Camera Integration – Trigger recording when the beam breaks.
- Smart Home Sync – Connect to Home Assistant or IFTTT.

4. Major Advantages of a Laser Security System
- High Precision – Fewer false alarms than PIR sensors.
- DIY & Budget-Friendly – Under $50 for a basic setup.
- Works in Darkness – Unlike cameras needing IR illumination.
- Expandable – Can secure multiple zones with mirrors.
New Benefit: Stealth Mode – Infrared lasers are invisible to intruders.
5. Potential Limitations & How to Overcome Them
- Limited Range → Use mirrors to bounce the beam for longer coverage.
- Alignment Sensitivity → Secure components with stable mounts.
- Not Standalone → Pair with cameras or smart locks for full security.
6. Conclusion
A DIY laser security system is a cost-effective, customizable, and fun way to enhance home security. Whether you’re a beginner or a tech enthusiast, this project offers flexibility and reliability.
Final Pro Tips:
Test weekly to ensure functionality.
Upgrade gradually (add Wi-Fi, cameras, etc.).
Share your build in forums for feedback!

7. FAQ – 5 Common Questions
Q1: Can a DIY laser harm my eyes?
A: Use <5mW lasers (Class IIIa or lower) for safety.
Q2: How far can a DIY laser tripwire work?
A: Typically 10-50m, extendable with mirrors.
Q3: Will sunlight affect it?
A: Use a photodiode with a filter to reduce interference.
Q4: Can I link it to Alexa/Google Home?
A: Yes, via Raspberry Pi + Home Assistant.
Q5: Is DIY better than store-bought?
A: More customizable, but commercial systems offer 24/7 monitoring.

